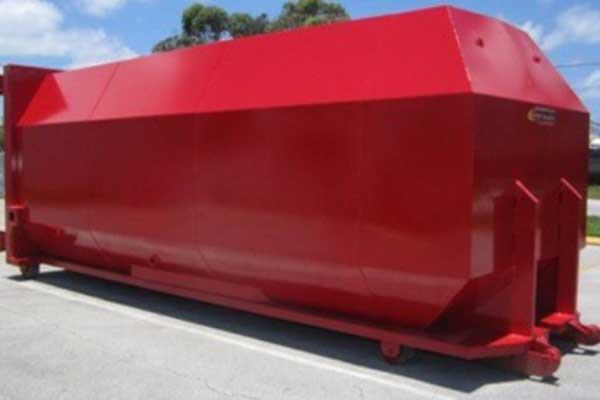
Container Remanufacturing Process
On-site container repair, remanufacture, conversion and refurbishment process.
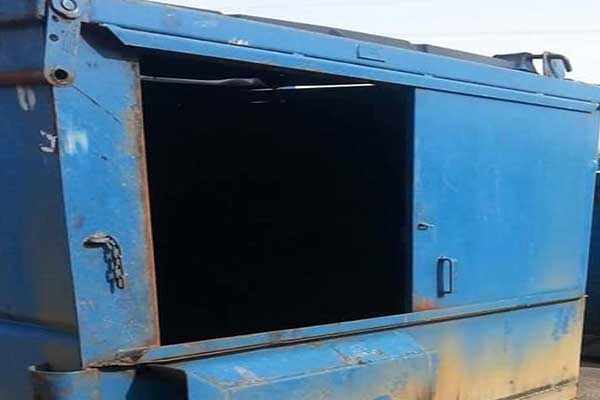
1. Container Inspection
We check for missing or damaged top lids, sliding doors and broken welds. If we are converting your container, we make any necessary modifications.
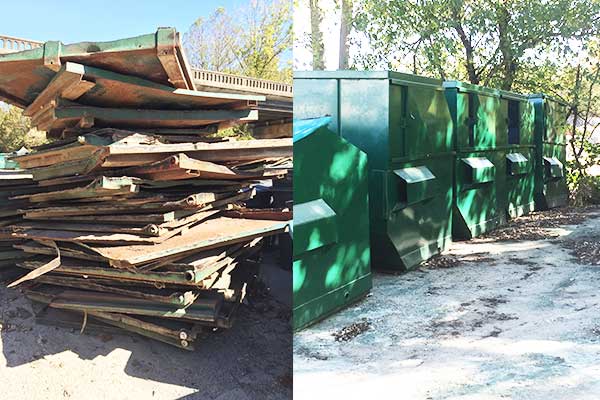
2. Container Prep
We remove old logos and other stickers, then repair or replace damaged container parts. We place drop cloths around the container to protect the area.
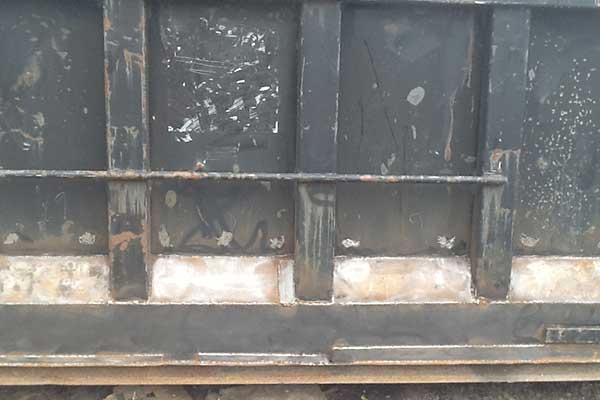
3. Container Paint Prep
We buff the container with an electric grinder removing all loose paint, scale and rust leaving a clean paintable surface.
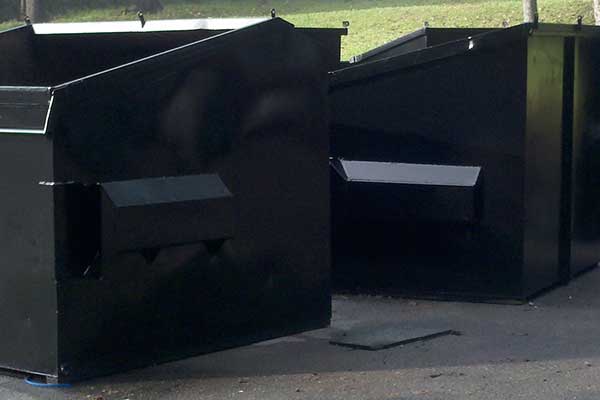
4. Paint The Container
All containers are sprayed or rolled (depending on proximity to parking lots and buildings) with an average of four wet mils coating of water reducible, EPA-compliant paint.

5. Logos, Labels & Stencils
We affix new logos, safety labels and other stickers as required. We stencil any customer tracking numbers on the container.
6. Final Inspection & Cleanup
We perform a thorough inspection of the container and ensure that we leave you with a clean, undisturbed work area when the job is completed.